The ideation module offers the ability to solicit ideas or change requests from external sources (registered users, but without Jira Align licenses), or internal partners (with Jira Align licenses). Jira Align users with appropriate access can create idea campaigns that provide a workspace where ideas can be collected, refined, voted upon, and then either shelved or converted to work items to drive development.
Important: You can only view ideation groups for which you are an administrator of the group or are granted access from the Edit User page > Idea Access.
A typical workflow for Ideation might look like this:
- Design a campaign to collect ideas related to a particular product or product line over a finite period of time (e.g., over a PI or for a few months).
- Create a new idea group for the campaign.
- Assign an idea management team for the campaign.
- Define a form for the collection of ideas in the campaign.
- Use a portal to collect ideas.
- Monitor the submission of ideas and the voting results.
- Idea management team processes each idea and communicates the status.
- Create new work items for accepted ideas.
- Publish results of the campaign.
Manage ideation on the ideation page:
- Select the enterprise from the Teams dropdown in the top navigation bar.
- On the sidebar, select More items in the list of page options.
- Select Ideation; the ideation page displays.
OR
- Select Products in the top navigation bar and select the product you want to manage ideation for.
- On the sidebar, select Ideas in the list of page options.
- Select Ideation; the ideation page displays.

Create and configure idea groups
Users with appropriate permission can set up an idea group from the iZone page. Idea groups are used to provide a lightweight framework to the process of gathering, refining, and actioning ideas. Groups can be private or public.
To set up an idea group, follow these steps:
- On the ideation page, select the Setup button on the top-right of the page; the Campaign Administration panel displays. On this panel, users can create groups, enable groups, or disable groups.
- Use the Create New Group button to start the creation process:
- Create Group. Sets a name for the group.
- Category. Sets the type of ideas collected by the idea group: Enhancement, Question, or Ticket.
- Admins. Idea Group Admins can change the settings on the idea group.
After saving the group to create it, you can further configure the group on the Campaign Administration slide-out panel:
- Edit Group. Sets a new name for the selected group in the dropdown menu.
- Category. Sets the type of ideas collected by the idea group: Enhancement, Question, or Ticket.
- Admins. Idea group admins can change the settings on the idea group.
-
Contributors. Only Contributors can submit, view, and vote on ideas when Make Public is not selected.
Notes:- The difference between an administrator and a contributor is that a contributor can create Enhancement Requests and update the Status field, while an administrator can manage the group settings and also Manage Backlog. If the users added under Admins or Contributors do not have access to the Ideation page, you can see a warning icon (after saving) with a tooltip listing the users without access. Contact your Jira Align Administrator to provide them with access.
- Idea group admins should have the Create/Edit Idea Groups, Feedback Administrator, and Team Meetings toggles enabled for their system role to have full functionality.
- Form Builder. Configures the fields on an idea submission record (see below).
- Make Public. Select this check box to make the Ideas list visible (and votable) for Jira Align users that are not listed as Assigned Users. When a campaign is made public, a group-specific URL is generated that can be shared via the appropriate external channel.
- Approve External Users. Select this check box to require external users to be approved by a group admin before using the portal for the first time. When checked, admins will receive an email notification when an external user registers for the group. The admin must then approve the new user by selecting Manage next to the Approve External Users field, and then enable the Active toggle for the new user.
- External Link. URL where people without Jira Align user accounts can submit, view, and vote on ideas.
- Make States Public. Select this check box to show the current status of the ideas through the public view.
- Allow Voting. Select this check box to enable the voting mechanism.
- Token Voting. Set to Yes to enable the Token-based voting instead of the For/Against voting.
- Max Votes per Idea. Set a limit on the maximum number of votes an idea can receive.
- Total User Tokens. Set the total number of tokens each user can use for voting.
When a campaign is completed, the group can be disabled. Use the Disable Group button to terminate the idea capture process:
- Choose the appropriate campaign from the dropdown menu.
- Press the Disable Group button.
- Use the Save or Save & Close button to complete the update.
- When the page is refreshed, the campaign group will no longer be visible and users will not be able to submit further ideas, vote on ideas, or track the metrics for the campaign.
- Campaigns can be re-enabled if required.
To enable a group, select it from the dropdown list, press the Enable Group button, and then save the changes. Users will now be able to once again submit further ideas, vote on ideas, or track the metrics for the campaign.
Form builder
The fields or data collected on a new idea submission can be controlled in the Manage Ideation Forms slide-out.
To create a new form:
- Select Create New Form.
- In the text field that appears, enter your Ideation Form Name. Names must contain 250 or fewer characters.
- Select Save to save your changes.
Edit your created form or another existing form by selecting the form you’d like to edit in the dropdown at the top of the panel. The slide-out updates with the following:
- Intake Form Name: The name of the form.
- Ideation Groups Using This Form: Select ideation groups that use the selected form. Only one form may be applied to each group. Changing an idea group’s form will also affect what’s displayed on existing ideas within the group, so that they match the fields on the new intake form.
The following fields can be added to the form for ideas in the idea group by setting them to Active, and added to external forms using the External checkbox. They can also be made Required:
- Title: Name of the idea. This field is always required and visible on all form types.
- Description: A short description for the idea. This field is always required and visible on all form types.
- Created By: The name of the person who submitted the idea. This field is always required and visible on all form types, and cannot be changed.
- Owner: The person responsible for the idea. By default, this is the user who created the idea; however, the owner can be changed if someone else is responsible for it.
- Attachments: Allows users to upload supporting documents to their idea submission. This field is always required and visible on all form types.
- Public: Allows submitters to control whether an idea will be visible beyond the idea group’s assigned users. This field is always required and visible on all form types.
- Subscribe: Allows submitters to decide whether or not to receive email updates on their idea. This field is always required and visible on all form types.
- Product: Asks which product the idea applies to.
- Customer: Asks which customer the idea applies to.
Select Save to save your changes.
Optionally, add custom fields to your form:
- In the blank field at the bottom of the Form Builder, enter a title for the new field.
- In the dropdown on the right, select if the field will be a textbox, open text, or a dropdown field. On dropdown fields, a blank field appears under the title field. Here, you can enter the dropdown options. To add a new option, enter the name of the option in the blank option field, then select the plus (+) icon next to the option field to add it.
- Use the Active, Required, and External checkboxes to display the field on internal and external forms, and optionally, make the field mandatory.
- Select the plus (+) sign to add the new field.
- The field displays on the Form Builder.
Once a field is created, arrange your custom fields in the listing as you’d like using the arrow icons to the left of the field.
Help text can be added to any custom field to help submitters understand the purpose of that field. Add help text to a custom field by clicking the question mark (?) to the right of the field.
You can save changes to a custom field by clicking the save icon to the right of the field.
Delete a custom field or dropdown option by selecting the X to the right of the field or option.
You can delete a form you’ve selected in the dropdown menu by selecting the Delete Form button on the top-left of the slide-out.
Create new ideas
Users with appropriate permission in a campaign group can submit, discuss, and vote on ideas through the ideation page or the public idea portal. Ideas are described by a title and description when submitted, but further details can be added via discussions, comments, and attachments.
- Click the Add Idea button on the top-right of the page; a New Idea panel displays.
- Complete the following required and mandatory attributes:
- Select a campaign group to which the idea will be recorded.
- Enter the title and description for the idea.
- Optional fields can be used to:
- Map the idea to the company, category, or product that will be the focus of this idea.
- Set the idea to be public or private.
- Subscribe to the idea to ensure that notifications will be received.
- After the idea is saved, work items can be created by managing the backlog. If a work item has been created from the idea, the association will appear by default in the Work Item field. Idea group admins can remove this association by clicking the X icon on the association. Idea group members can only view the association.
Note: Removing the Work Item association between an idea and a work item will not delete the work item. - After the idea has been saved, users can access advanced features from the panel. These buttons/links enable the user to:
- Add attachments to the idea
- Start discussions about the idea
- Trace the idea if it was used to spawn a new work item or was related to an existing one
- Vote on the idea by clicking the Voting button on the panel; users can cast their votes according to the campaign voting rules. It is also possible to cast a vote directly from the idea grid page or the public site.
- Delete ideas or check the audit log
Work with ideation cards (internal)
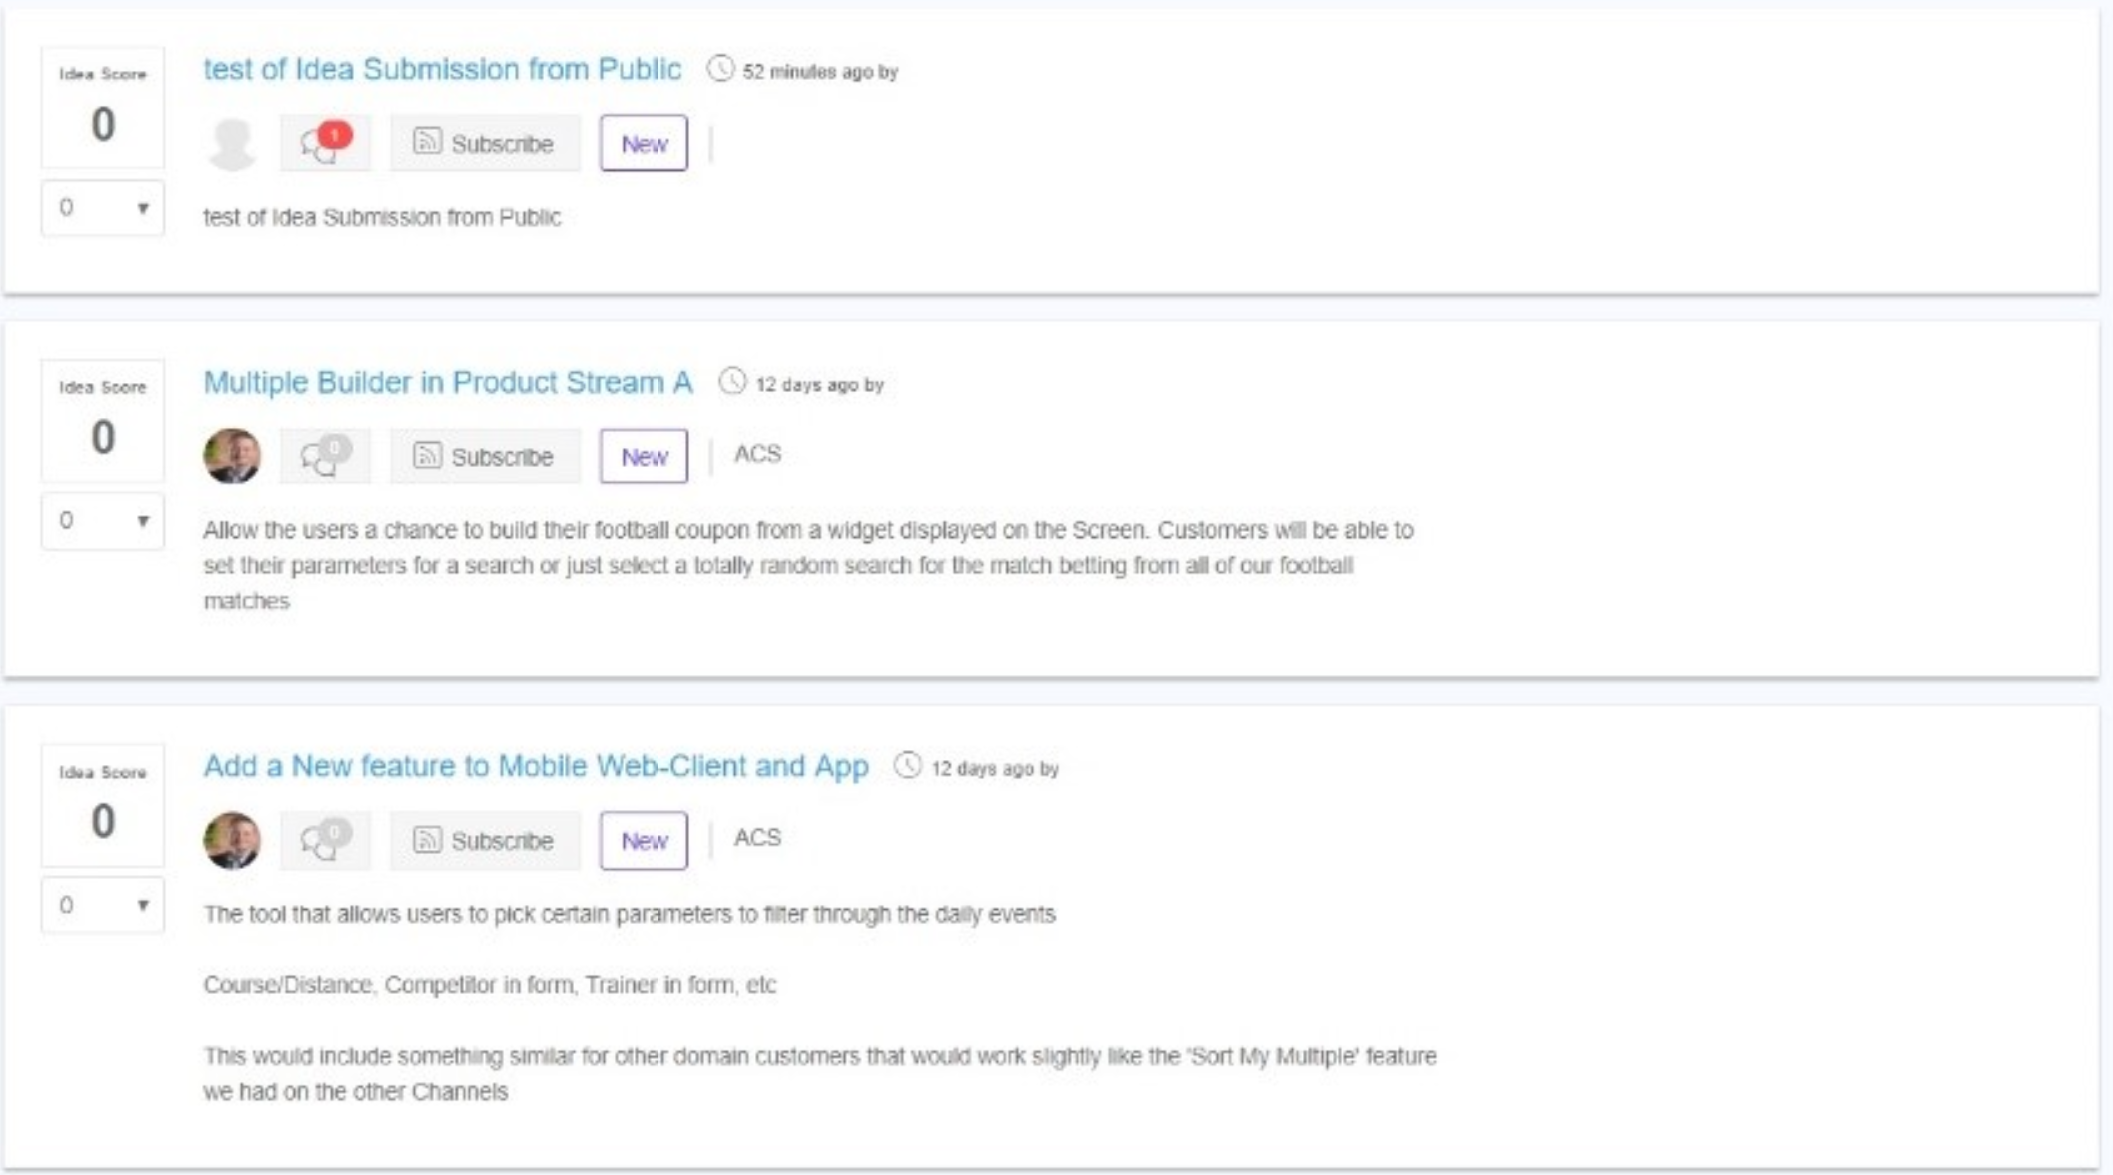
After saving an idea, it displays on the ideation page. The ideas are displayed in card format with key data attributes visible that the users can use to work with the idea.

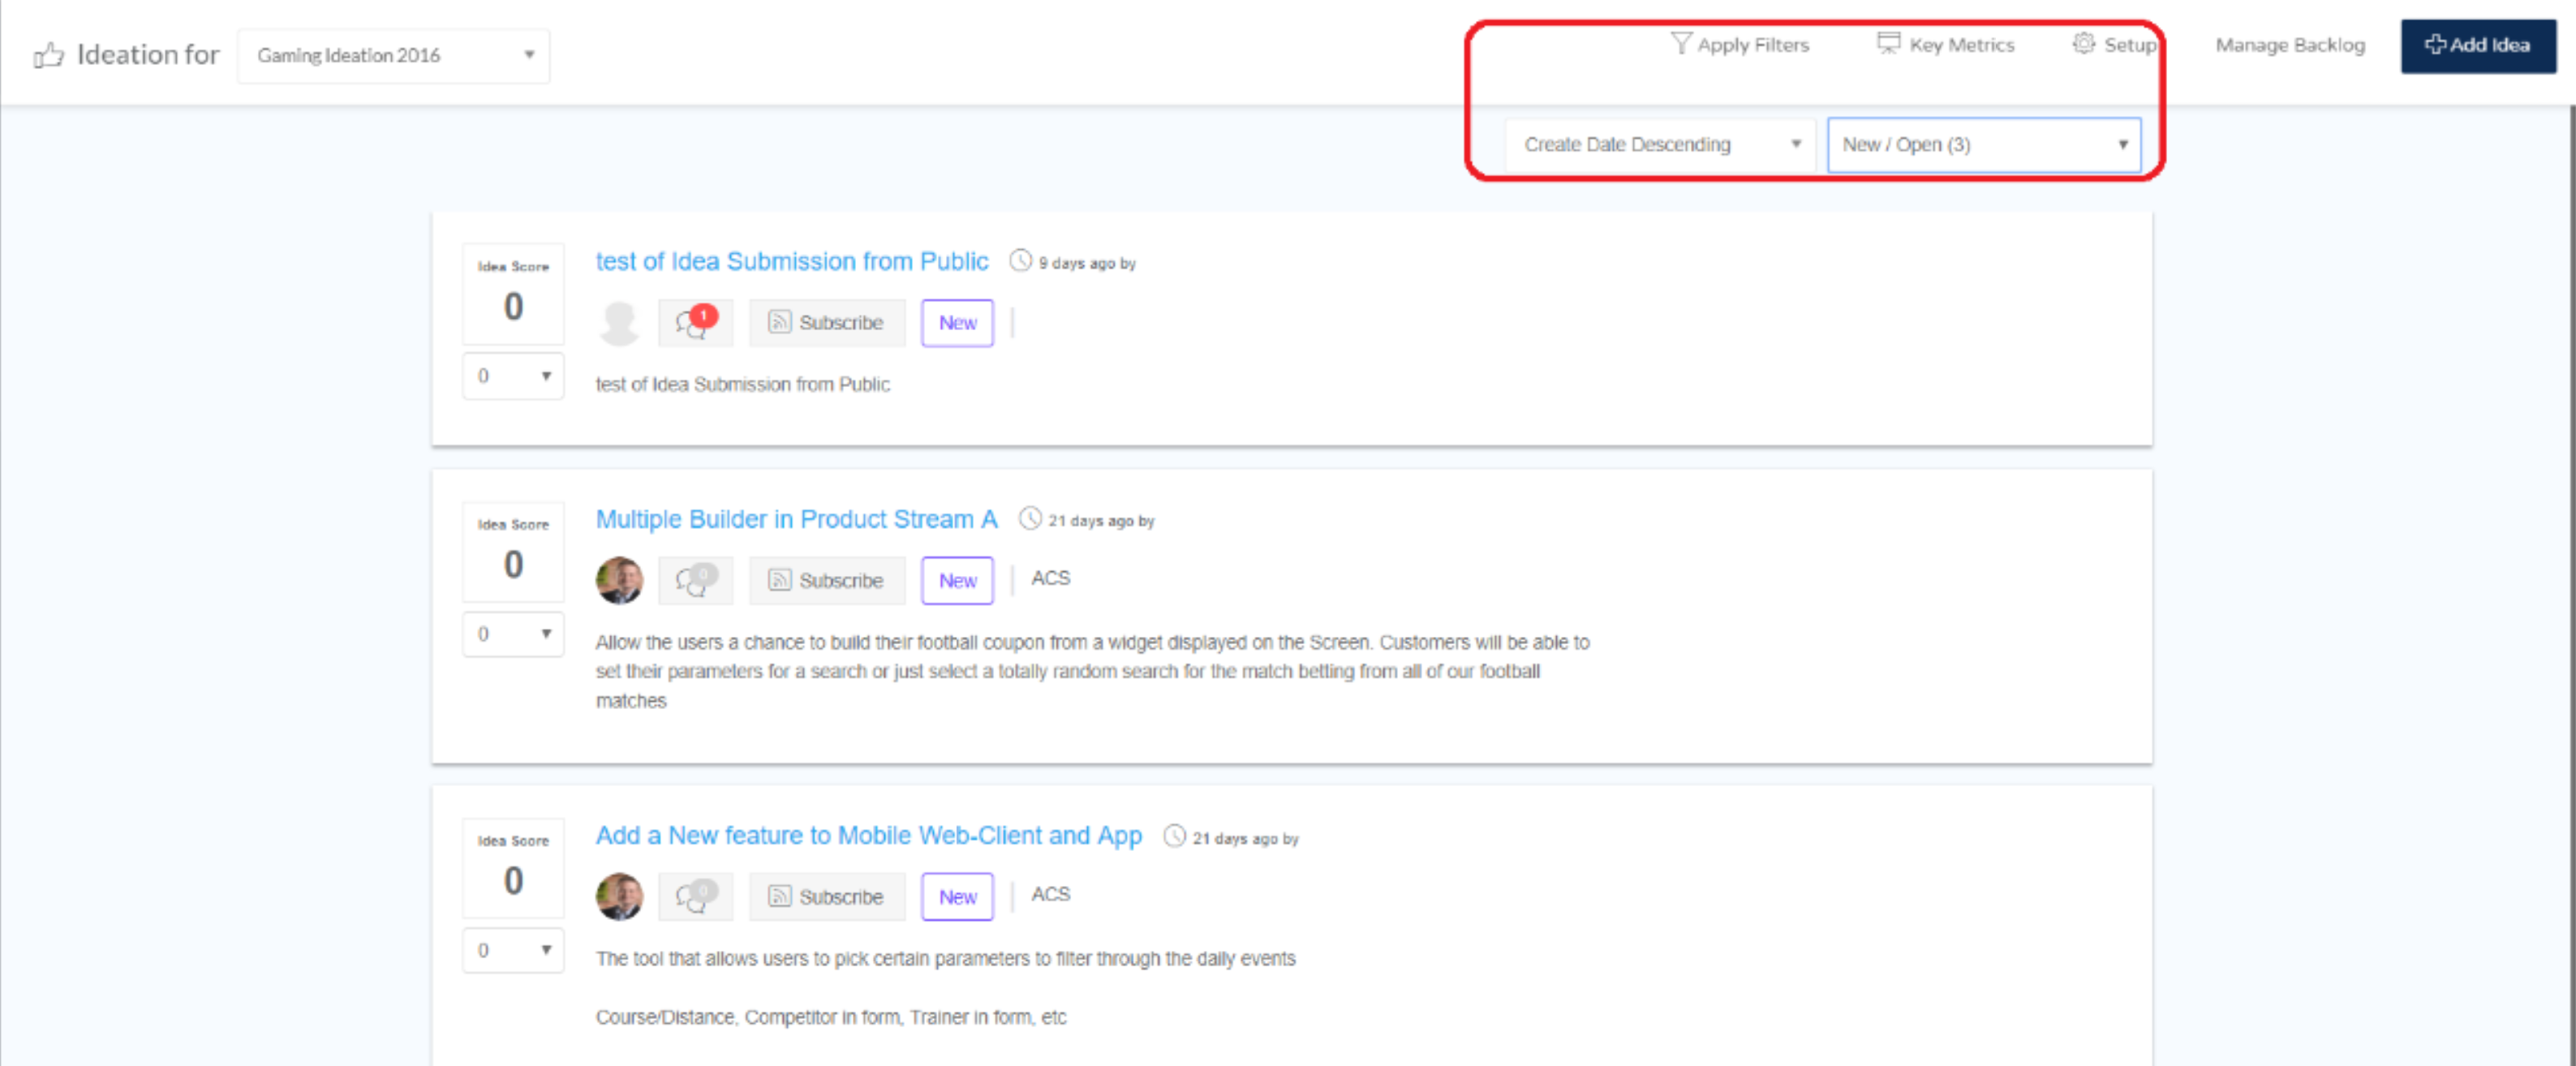
- Controlling the grid contents: content of the grid can be adjusted using the two dropdown lists at the top of the page:
- Users can sort the list by selecting one of the options from the dropdown list. The ideas can be ordered based on the number of votes, date, or other data attributes on the idea.
- Users can also filter the list to display ideas based on state, which is the entry selected in the Status field (all states, new, opened, planned, completed, or shelved). The final option on the list displays the search results. The filter settings for the search result are set using the Apply Filters button.
- Working with Ideas: Users can directly access attributes from the idea cards that are displayed on the grid:
- Voting buttons
- Change the status
- View the discussions
- Subscribe to the idea
- Open the Idea panel
- Ideas are tracked through the idea workflow that takes an idea from submitted, planned, completed, or shelved.
Work with public campaigns cards (public)
If the campaign was set to Public, then users will be able to access the campaign via the public URL. Through this URL users will be able to interact with the public ideas in an external portal.
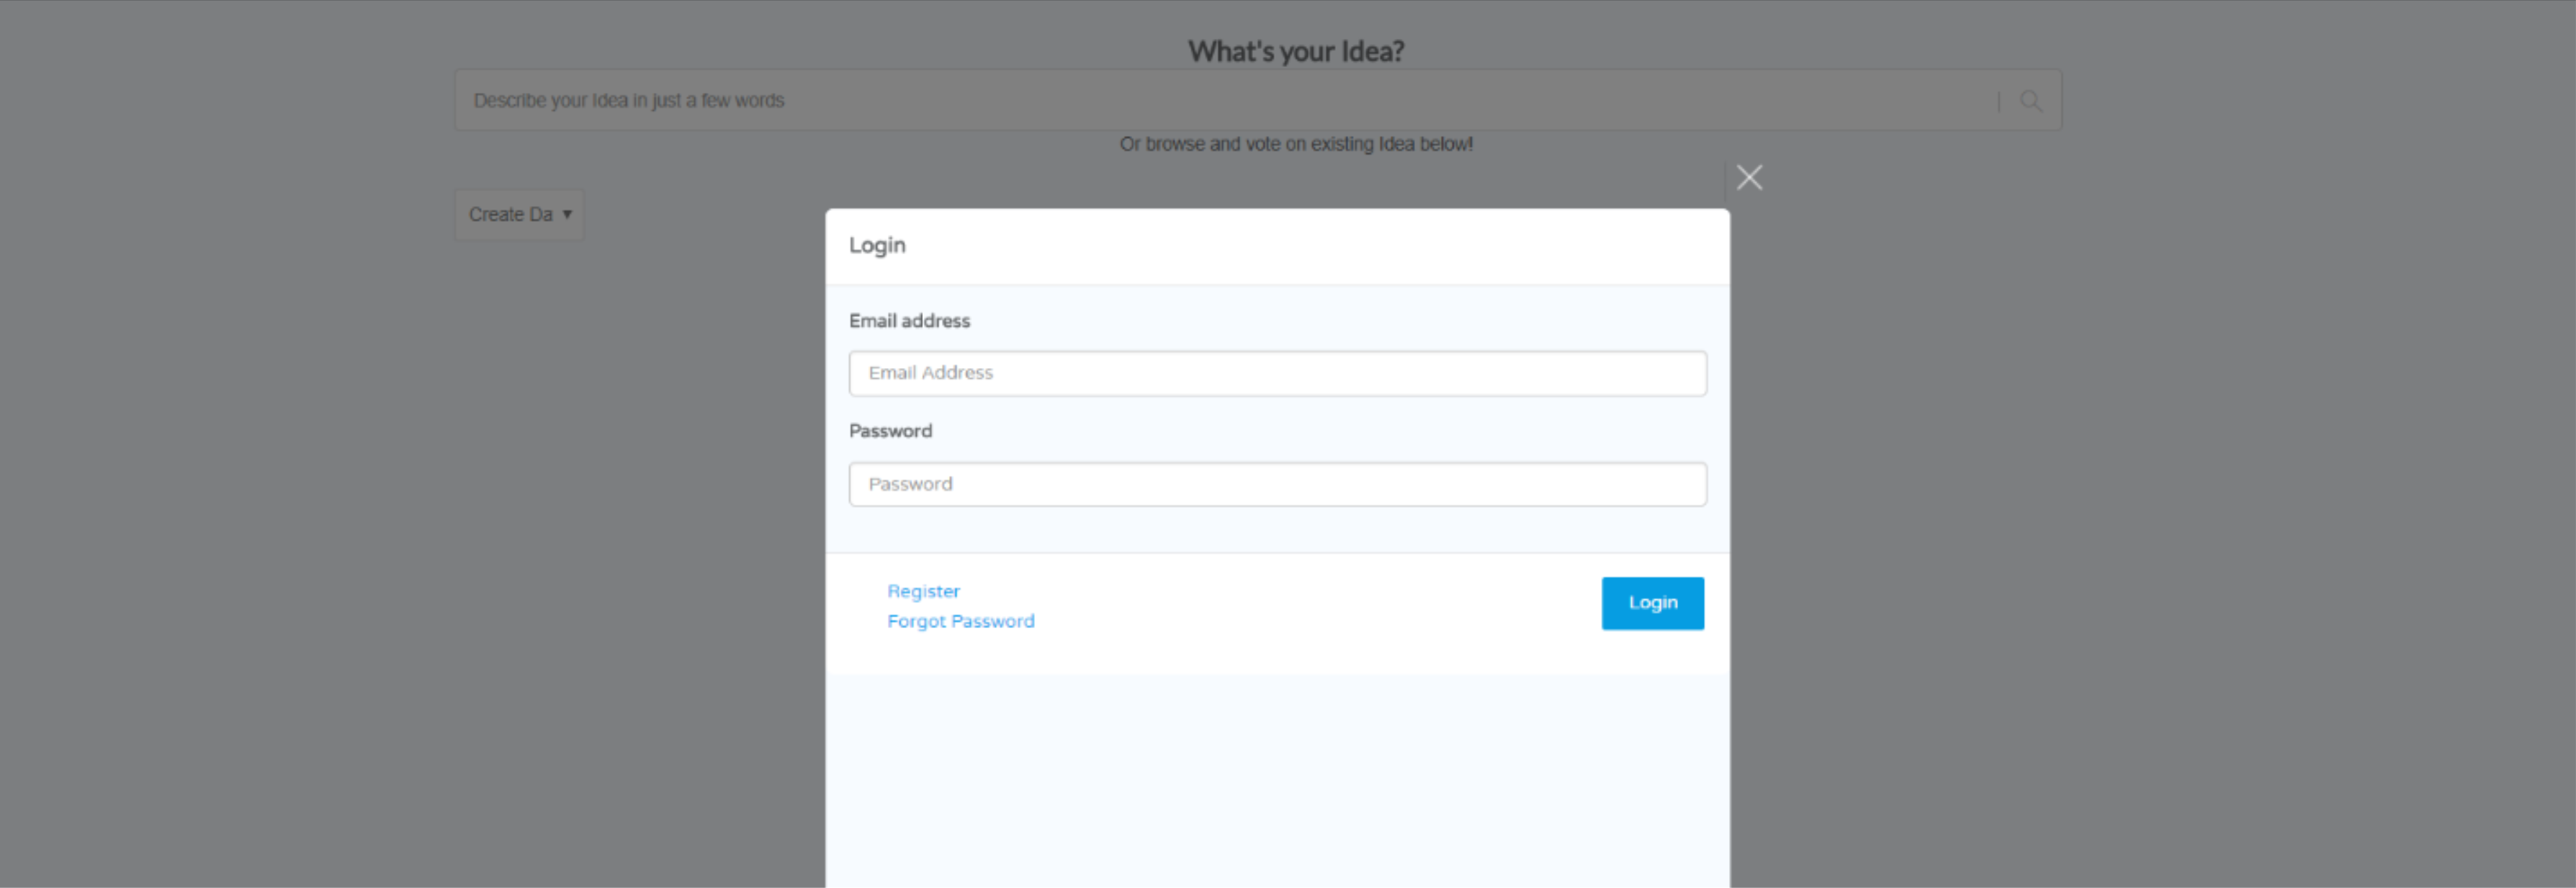
To participate in the campaign, users will be requested to register.
- Users must register a user name and password to participate in the campaign (this does not interact with Jira Align core users).
- Users are able to access the public contents of a campaign group. This means that users can see the public ideas and registered users can submit new ideas or comment on existing ones.

After registering, users may:
- Review the ideas that are publicly visible for the campaign
- Submit new ideas
- Delete ideas that they have submitted
- Vote on ideas
- Track progress of the idea through the idea workflow
The public, external portal is a lightweight extension of the internal idea process that enables a Product Manager to gather suggestions from the appropriately authorized end users.
Ideas in the external portal can be viewed in one of three ways, accessed using the buttons in the upper-left:
- All Ideas: displays all ideas regardless of creator or subscription status.
- My Ideas: displays only ideas created or owned by the user.
- My Subscriptions: displays only ideas that the user is subscribed to.
The external portal also allows users to track ideas via filters that can be applied to the grid view, track idea metrics, and manage the promotion of ideas as work items on the appropriate backlog.
The ideation module can also be used for these purposes:
- Support internal idea campaigns, where an idea group could be tied to a strategic theme, and ideas are solicited to develop work items in service of the theme budget.
- Drive customer engagement, where an idea group could support crowd-sourcing efforts that collect enhancement requests from end users.
- Help a SAFe Agile Release Train (ART) implement an innovation exercise during an Inspect and Adapt activity at the end of a PI.
Join the Atlassian Community!
The Atlassian Community is a unique, highly collaborative space where customers and Atlassians come together. Ask questions and get answers, start discussions, and collaborate with thousands of other Jira Align customers. Visit the Jira Align Community Collection today.
Need to contact Jira Align Support? Please open a support request.